Vacuum to the ANT-18’s fuselage

We recently added the second wing to our ANT-18. That made it look a lot better. We fixed a few wiring problems in the main control box, and replaced external power wiring. We installed our restored Telegon oscillator, and cleaned, lubricated, and tested the turbine. Like our other turbines, the Toby Deutschmann suppression condenser had to be replaced.
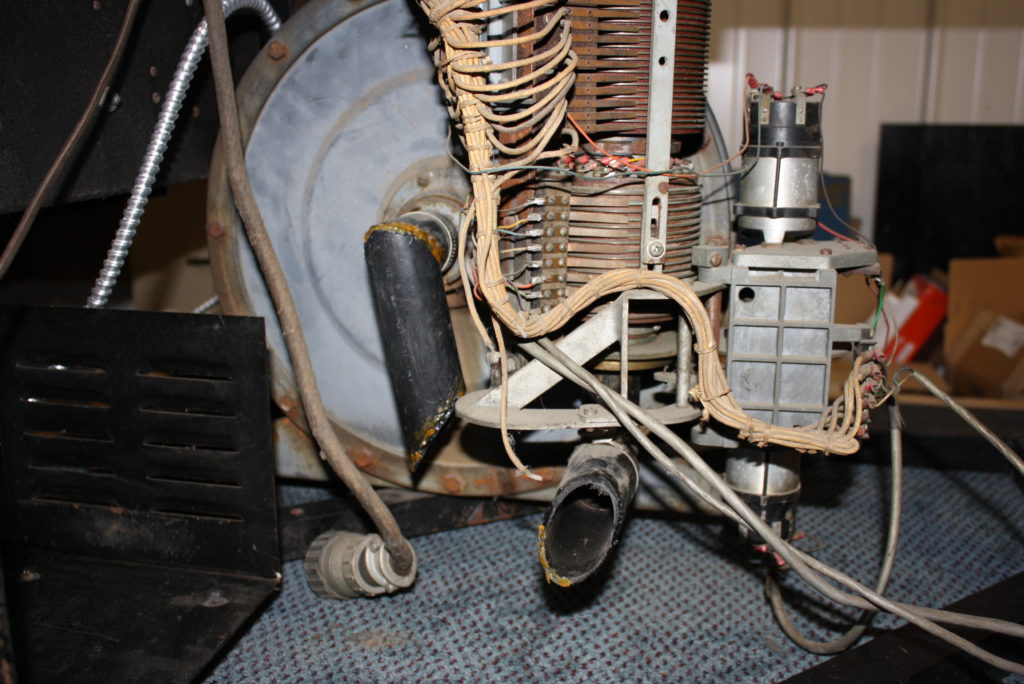
Broken vacuum connection between turbine and spindle.

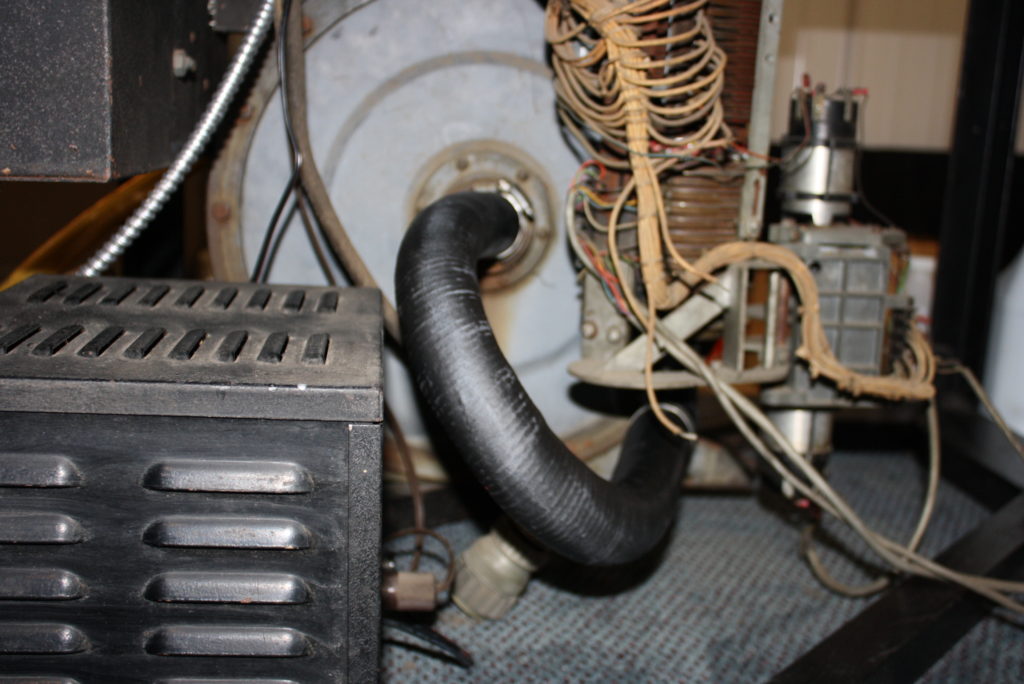
The vacuum hose that connected our turbine to the spindle was broken in a couple places. The connection was unlike models Esp and C-3 whose hose is short and at the same height. The ANT-18 has an additional separate set of commutators hanging below the standard 28 rings. This assembly causes the vacuum entrance to the spindle to be much lower than the turbine’s vacuum source. Our vacuum connector was obviously not an original part; it consisted of several short pieces of 1-½” PVC pipe poorly glued together. We still don’t know what the original connection looked like. We decided it would be better to have a slightly longer hose with a smooth bend rather than the additional two sharp 90-degree corners introduced by the broken connector pipe. We ordered a hose that was ultra-flexible; however, it only came in bright blue or green. After a bit of sanding, primer, and flat black paint, it now looks like an old rubber hose.
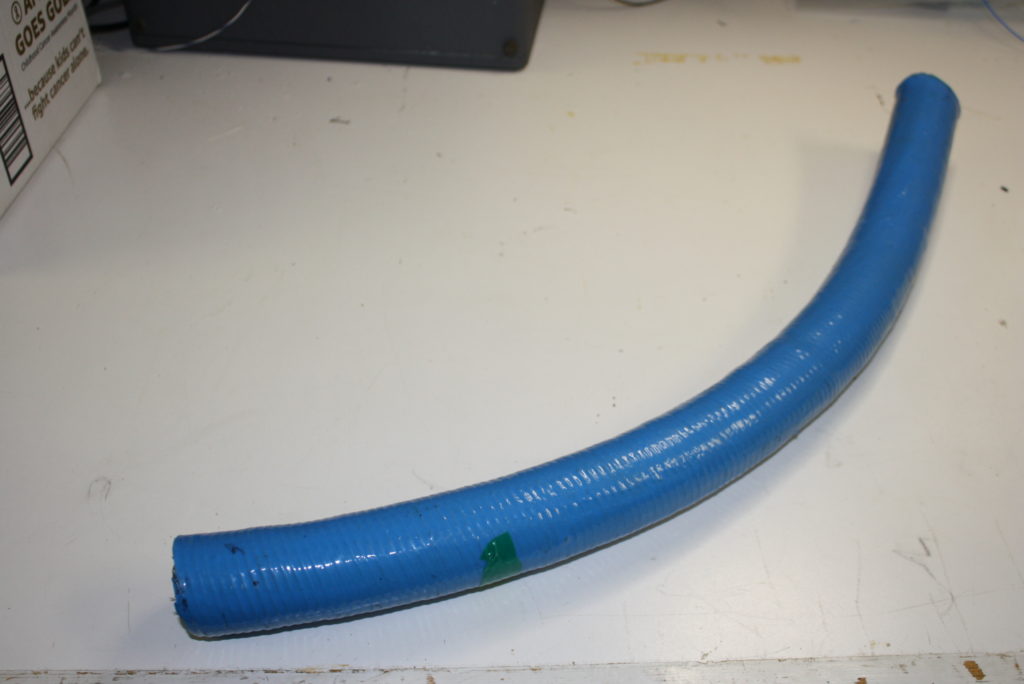
New vacuum connection hose.
New vacuum connection between turbine and spindle.

We had to try it out, by turning on the turbine. We had just completed restoration of the turning motor, so that was in good shape. The pitch and roll bellows looked and felt pretty good, but as soon as vacuum was applied to the fuselage, the pneumatic cloth on the pitch bellows ripped. That’s the next task – rebuild the pitch and roll bellows.
 

Door wire mystery

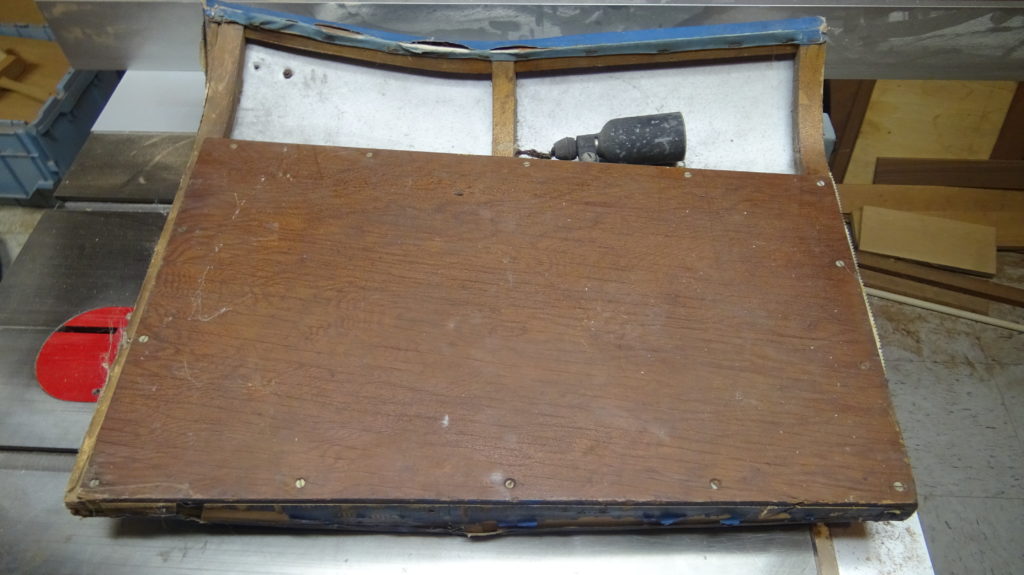
We were working on the fuselage door for our Model Esp. The power wire for the spotlight came out of the back of the light and went into the door. We looked everywhere for the wire to emerge from the door to obtain its power. Not even a hole for a lost wire anywhere.

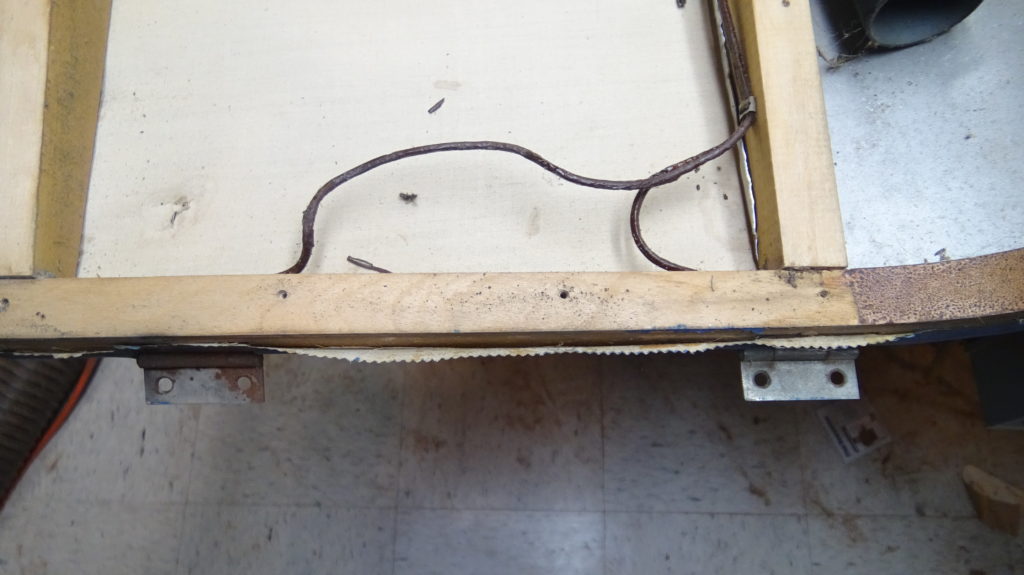
Inside of Esp door

We removed the door panel to discover – one wire going to each metal hinge. Too funny! Clever way to power the light.

One wire to each hinge

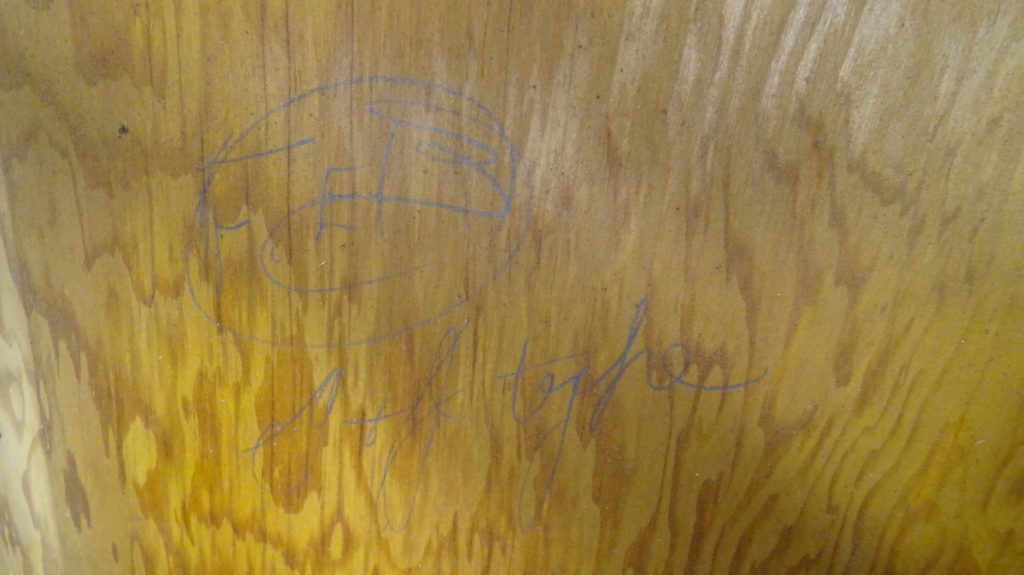
The guy that made the cockpit door was proud of his workmanship and provided his autograph on the inside of the wood door panel. Does anyone recognize his signature?

Signature of the guy that built our Esp cockpit door.

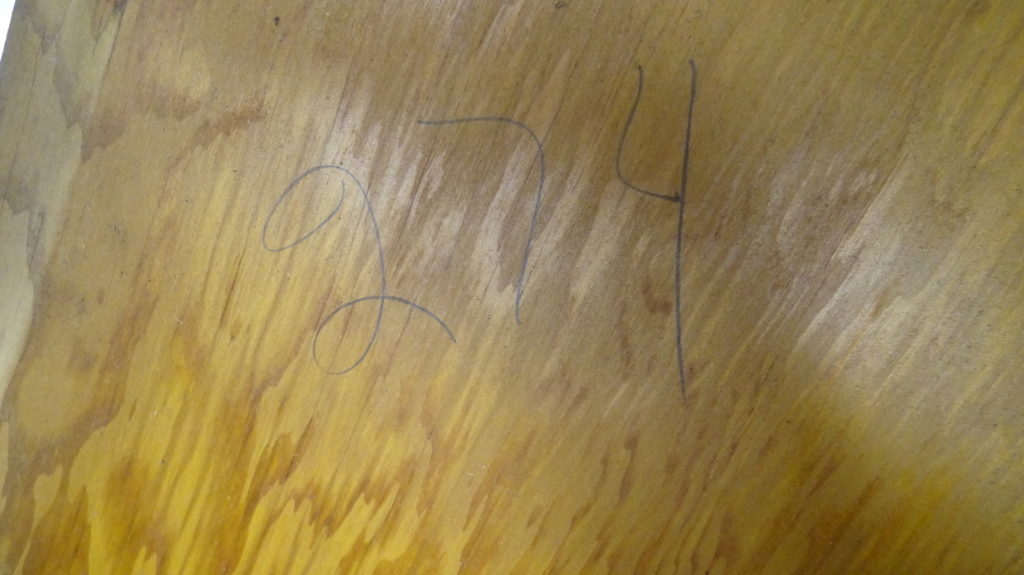
He also numbered the door. We guess that there was some hand fitting involved with the doors. The #274 perhaps was intended to go with Esp S/N 274, but our trainer is S/N 374. That may be one little mystery that we never figure out.

Esp door number.

A little diversion

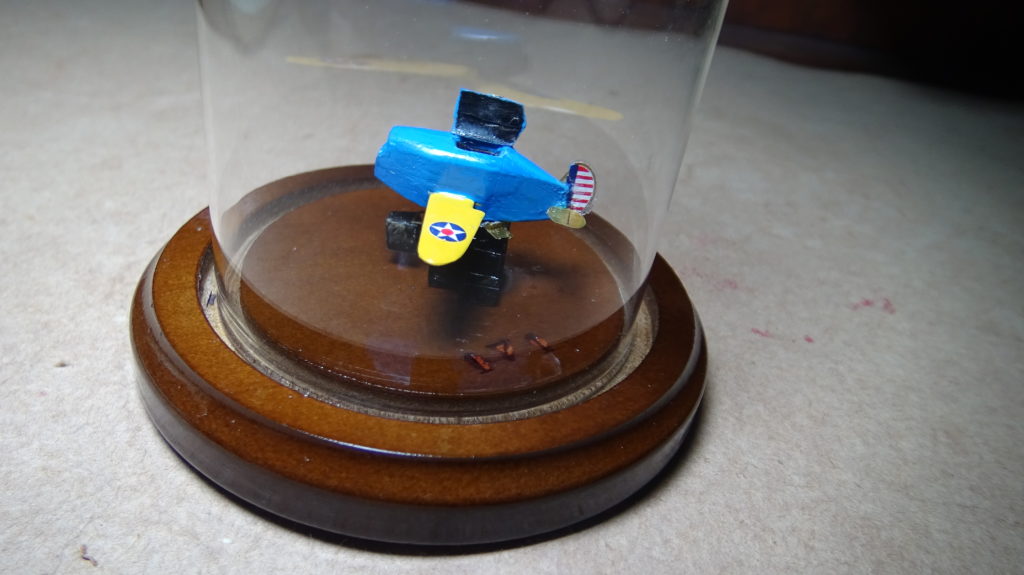
Blue Box model in 3″ dome.

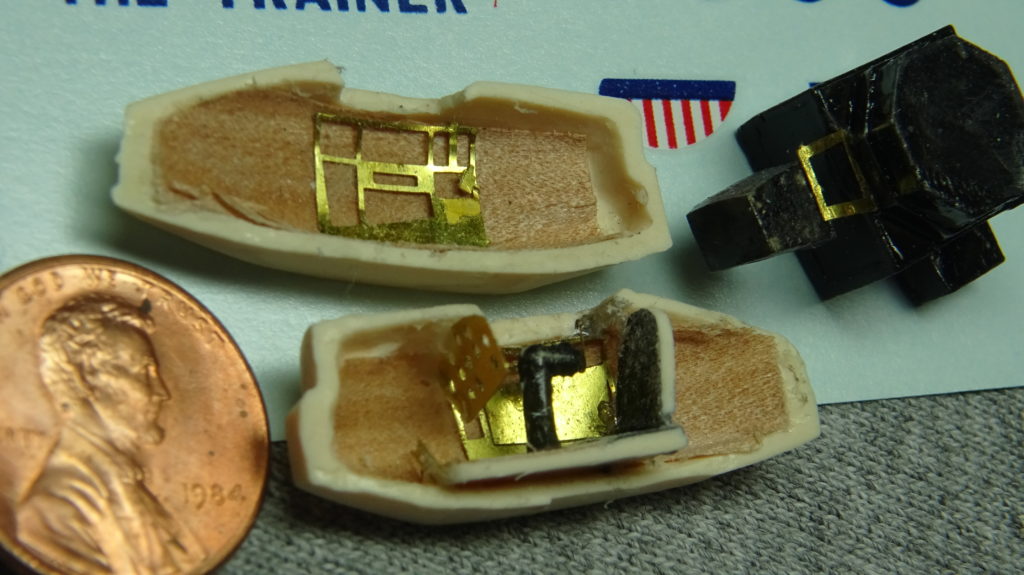
We built a Meikraft Model of the Link Blue Box Trainer.  It is tiny – 1/72 scale.  Easily fits in a 3” diameter dome.  Lots of hidden detail inside the fuselage like rudder pedals, yoke, an instrument panel, and even wood trim.  Ours is #171 of 550.  The kits are out of production, but show up on ebay.com from time-to-time.

Inside the model’s fuselage.

Quit while you’re ahead


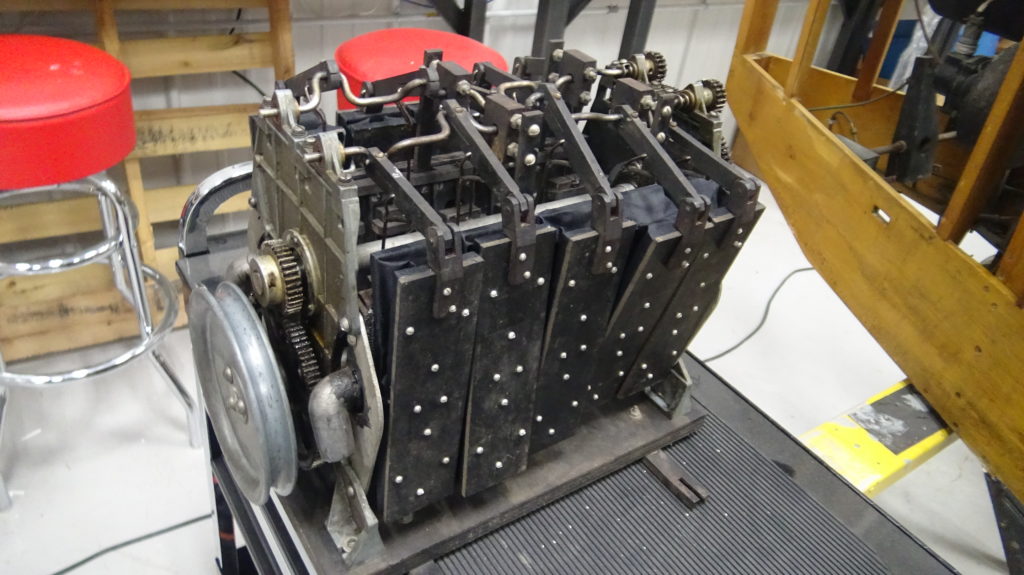
Restored turning motor

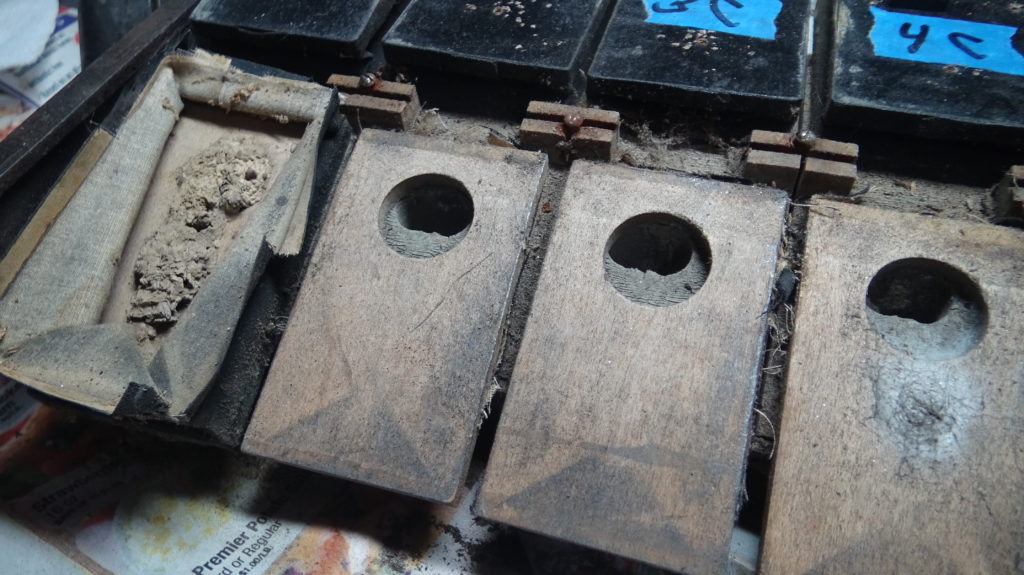
After all the bellow rebuilding, lubrication, and reassembly; the moment of the first turning motor test arrived.  We could not believe it when the motor jumped into action with just a small vacuum from a vacuum cleaner hose held near to the port.  Clockwise with one port, counterclockwise with the other.  It is great fun to watch the sliding valves sequence the bellows.  We decided to skip the timing alignment for the time being – sometimes it’s best to quit while you’re ahead.