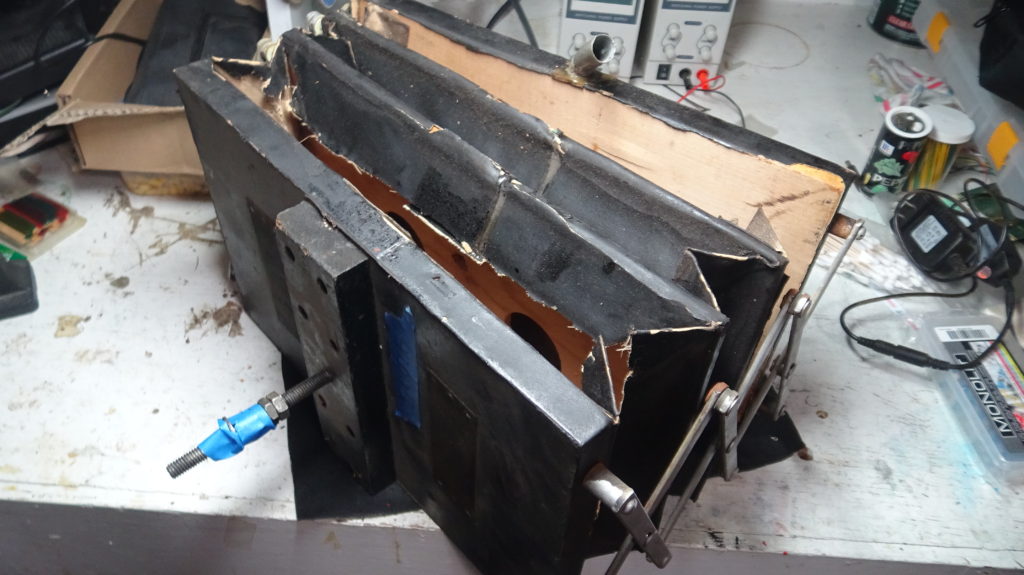
Two of the main bellows disintegrated when we first applied vacuum to our ANT-18. The other two bellows were very stiff. When we removed the pneumatic cloth we discovered that two of the bellows were made at the factory. The Link Aviation part number was easily visible on the inside of the cloth. For the first time we had a reliable piece of cloth from which to make a pattern.
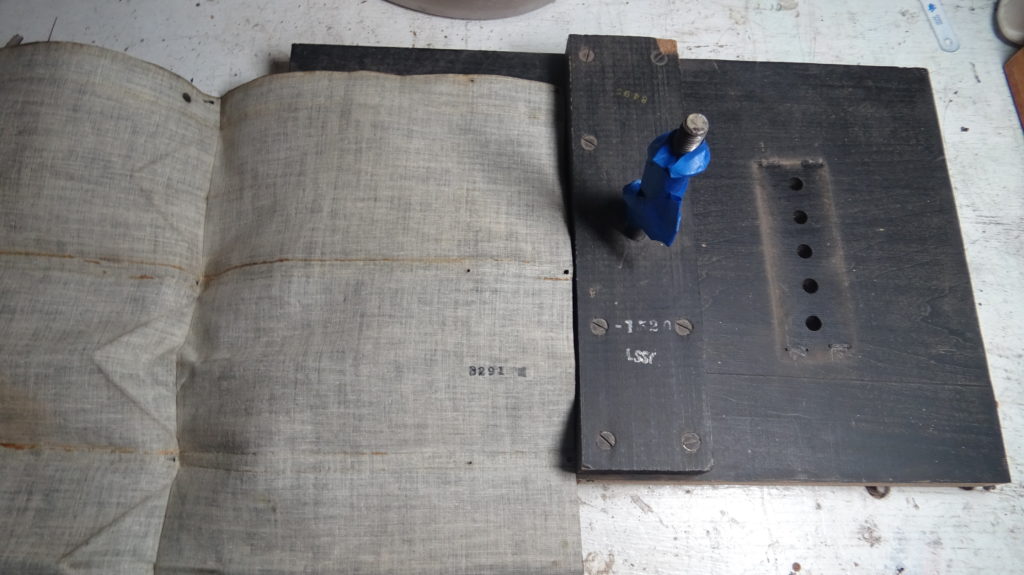
P/N 8291.
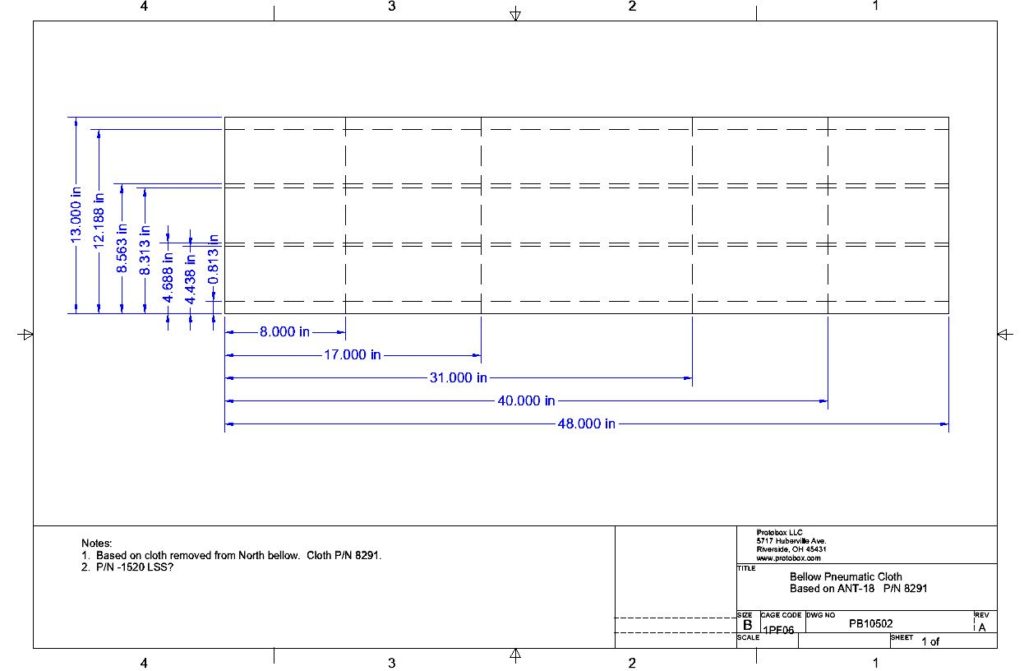
Based on ANT-18 P/N 8291
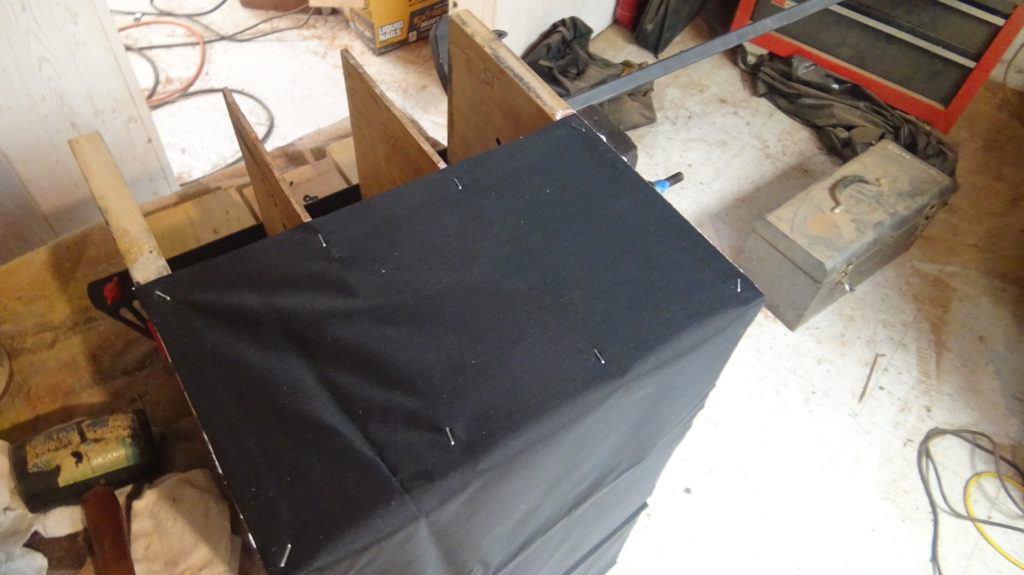
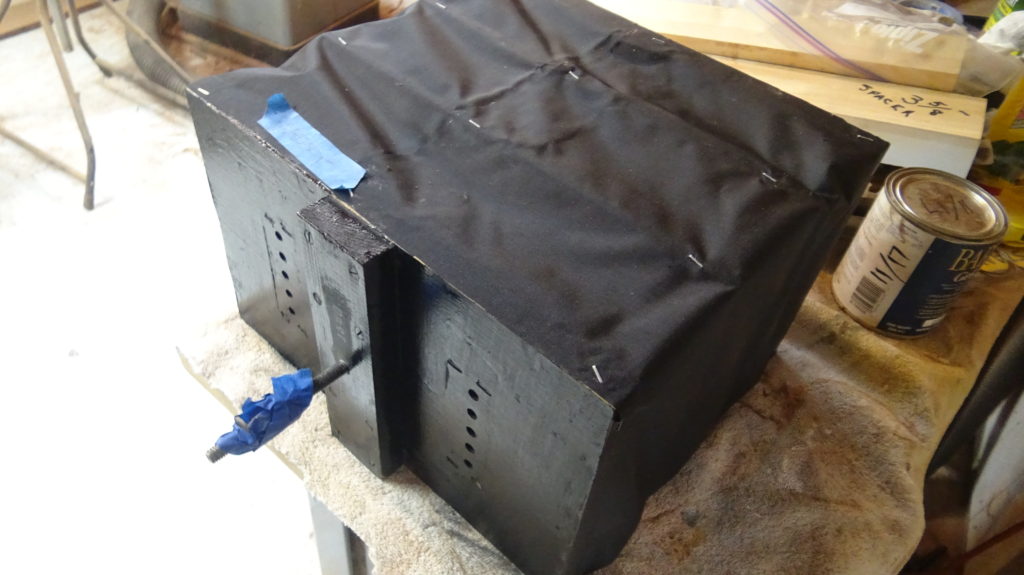
After a good cleaning and a little paint, our bellows were ready for new pneumatic cloth. We used 3.625” spacers between each wooden layer of the bellow to keep all the layers properly spaced and parallel. We glued the cloth with PVC-E glue and tacked it with ¼” staples. The original had real tiny tacks.
This video shows techniques to restore the pitch and roll bellows.
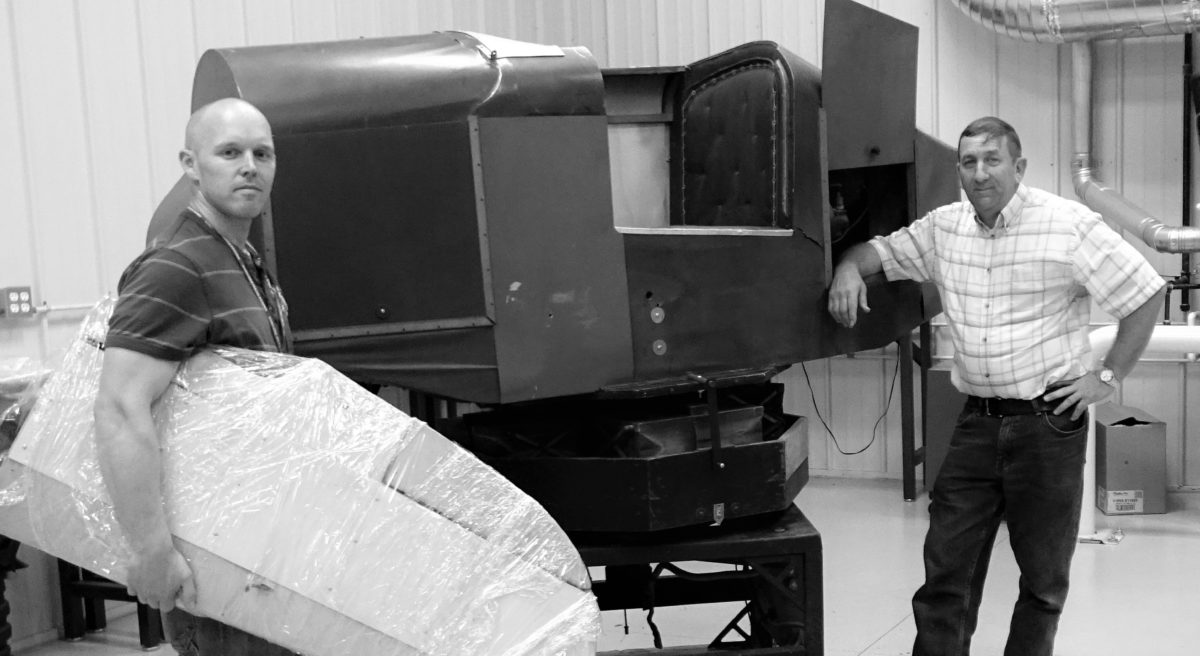
I found in the disassembling and rebuilding of my bellows, the pitch bellows were 2 inches bigger than the 2 roll bellows. Has anyone else found this to be the case where the four bellows (pitch/roll) are not all the same size?
Yes. Some models have the pitch bellows larger than the roll bellows; sometimes only the rear bellow is larger. This improves pitch performance.
I loved the use of the spacers in your assy. process. The original 1943 manual had me making fancy jigs. The jig did not hold the wooden spacers perfect so using you technique, will make a significant improvement! One last item on the spacers, your video does not show you removing them. I’m sure you did but not clear on which step you pull them without losing the proper spacing.
Also, I’m not sure the brand of PVC-e glue you used.
Steve shepherd
The spacers come out just before you complete sealing up the last side. That way the other 3 sides which have already been glued will hold the correct spacing. The brand of PVC-E glue is not critical; do not use if lumpy. We have also had good luck with D. C. Ramey’s “Pneu Glue”.
Thanks. Worked great.