This article discusses recovering a blue box with new fabric and finishing with dope.
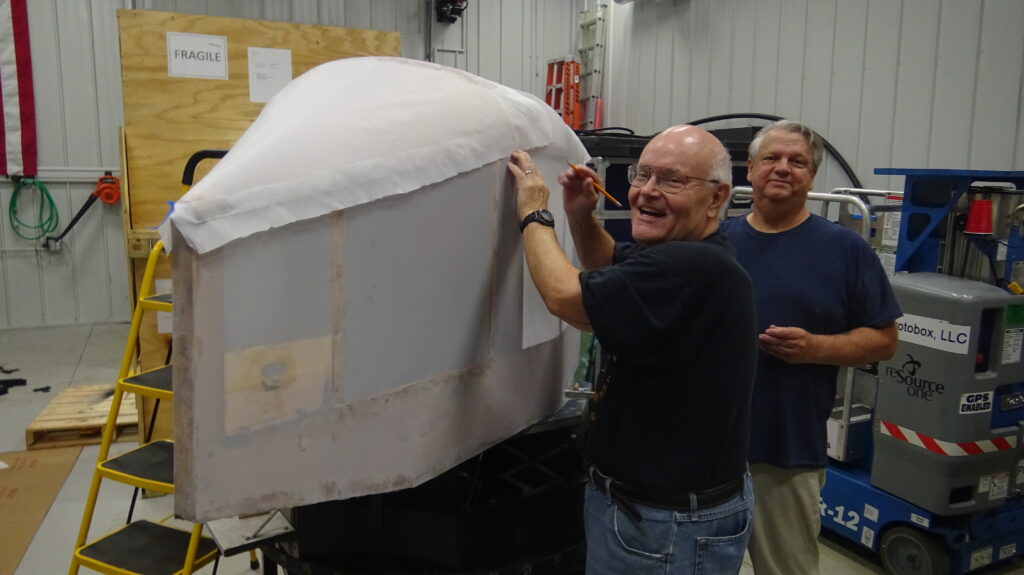
Blueboxdriver.com was fortunate to have Leroy, a friend and aircraft fabric recovering expert, to lead us through the process. Leroy has recovered private aircraft, a Blue Box for the Air Force’s Training SPO at Wright Patterson Air Force Base, the Memphis Belle’s ailerons for the United States Air Force Museum, and control surfaces for 3 different B-17s including one for Urbana Ohio’s Aircraft Restoration Center.
The first consideration is whether you need to recover your Blue Box. The original Blue Boxes were covered with cotton fabric which is prone to deteriorate over the years. If the trainer has been recovered with a longer-lasting Dacron derivative, the fabric will last indefinitely with proper care inside a building. If there are many tears in the fabric, the surface dope is badly cracked, or if a finger poke can damage the fabric, it is time to recover.
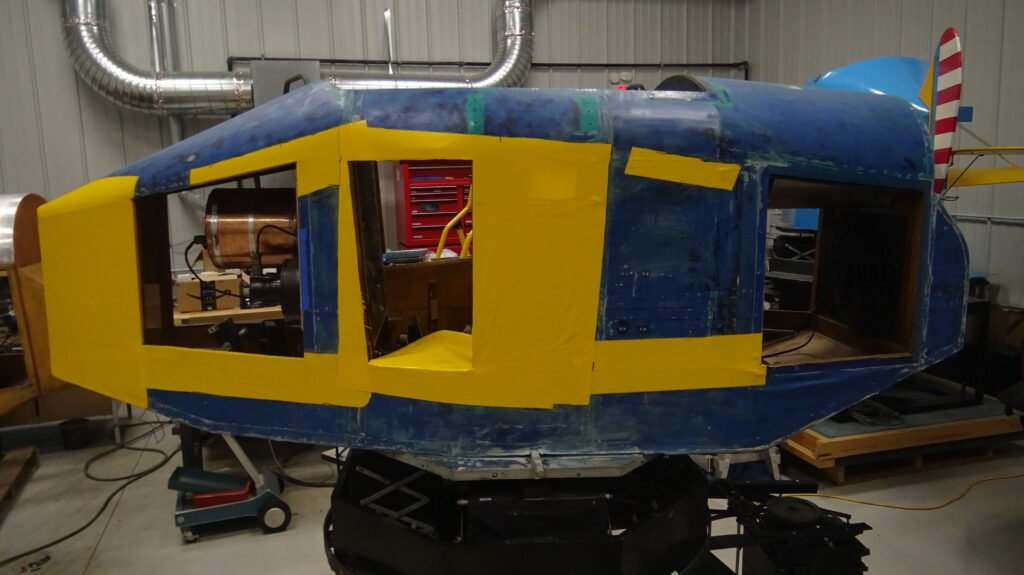
Our C-3 dope was badly cracked and could not be stripped without damaging our fabric. We decided to recover our C-3 trainer with Ceconite. Like many of the competing fabrics such as Polyfiber, Dacron, Superflite, etc., Ceconite is applied with a glue, then shrunk with a hot iron to pull the fabric taught against its frame. A pinked tape is applied over exposed seams and ribs. A sealer is applied and wet sanded. Then a UV protectorate is then applied. Butyrate dope is sprayed on top to finish the job. The FAA approved process for aircraft is very rigorous, but since a Blue Box doesn’t fly, nor is exposed to air flow or outdoor elements, some of the processes can be simplified.
The complete job consumes about 10 to 12 yards of 72-inch-wide fabric, a quart of glue, 3 quarts of sealer, and about 4 to 8 quarts of dope depending on the desired color scheme. The fabric and associated products are sold by aircraft supply companies. Each different fabric manufacture has its recommended process, associated glues, sealers, dopes, and thinners.
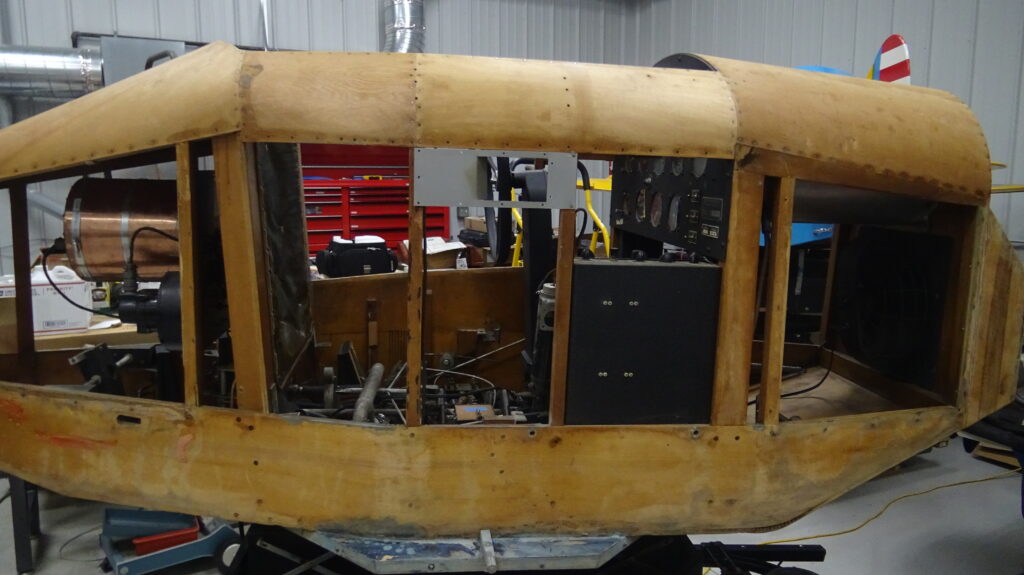
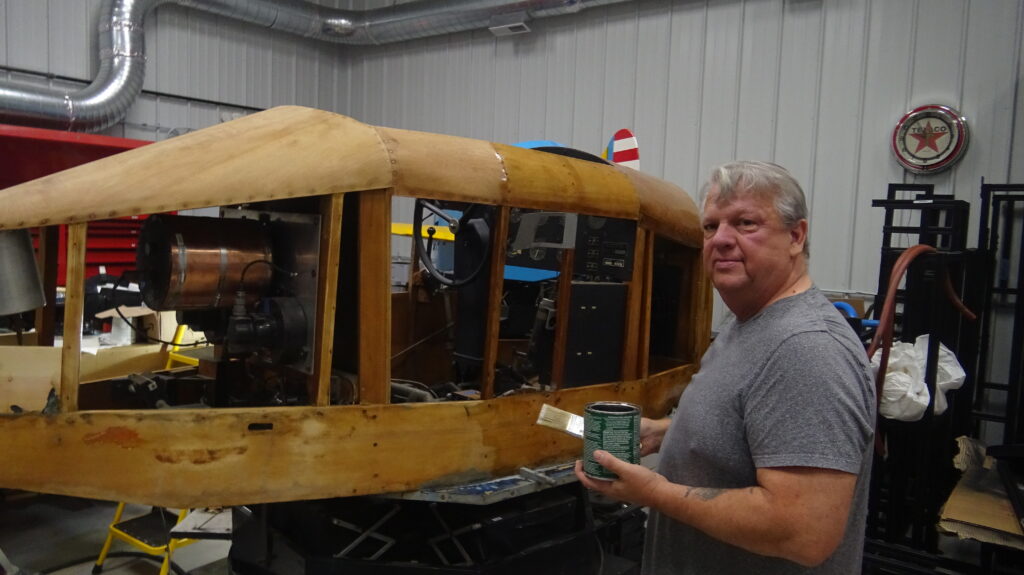
The first process is to remove the old fabric covering and any tacks or staples which may remain from a previous fabric application. The underlying wooden structure is typically very dirty. After repairing any wood structural damage, a light sanding is required to remove dirt and old glue. The raw wood is then sealed; we found that a coat of polyurethane worked well to prepare the fuselage and other wooden parts for glue.
For our fuselage, we started by applying two large pieces of fabric: one to each side of the fuselage. Leroy, an aircraft fabric expert, recommends starting at the bottom straight edge near the center where the fuselage meets the octagon base. Glue is applied around the side’s perimeter starting at the bottom center and working outward toward the front and rear a few inches at a time; then upward toward the top. In general, the concept is to apply about a 1” wide glue stripe around each section’s perimeter. We found that priming the 1” strip with glue and letting it dry first produced a stronger fabric bond. When the second coat of fabric glue was applied it also had a longer working time. The glue is thinned with MEK (Methyl Ethyl Ketone) which evaporates quickly. The fabric is stretched during gluing in short 3-inch to 6-inch sections to eliminate as many wrinkles and fabric bulges as possible. Once the glue has dried completely, the fabric is tightened up by heating the surface with a hot iron. The iron temperature can be gradually increased from about 275 degrees F. to mid-300 degrees F. The entire section is ironed at a lower temperature before proceeding to the next higher temperature. A taught fabric is the result.
Ceconite fabric can shrink up to 4 ½ %.
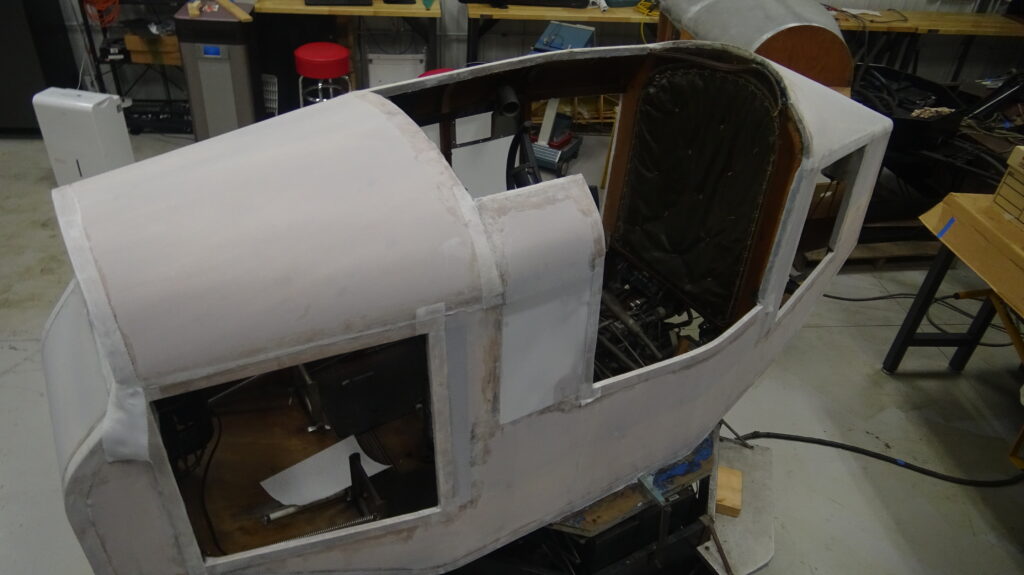
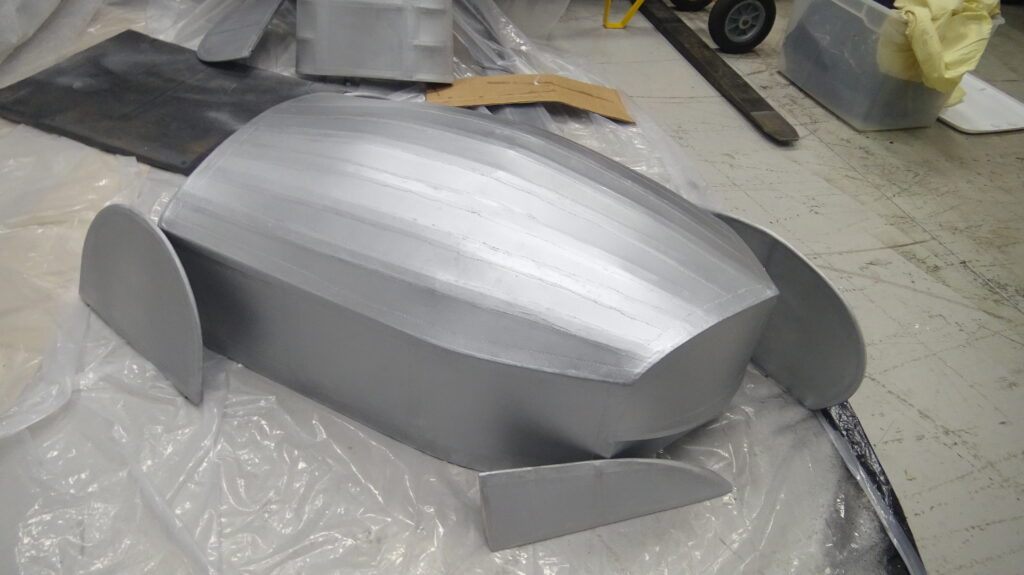
We covered the main fuselage in 5 sections: left side, right side, the flat front, the front cowling, and the top of the tail section. Edges around the back of the seat and the front panel intersection required that they be loosened so that fabric edges could be glued behind them. We also glued the fabric around the bottom edges of the nose and tail sections to make a strong bond and neat appearance.
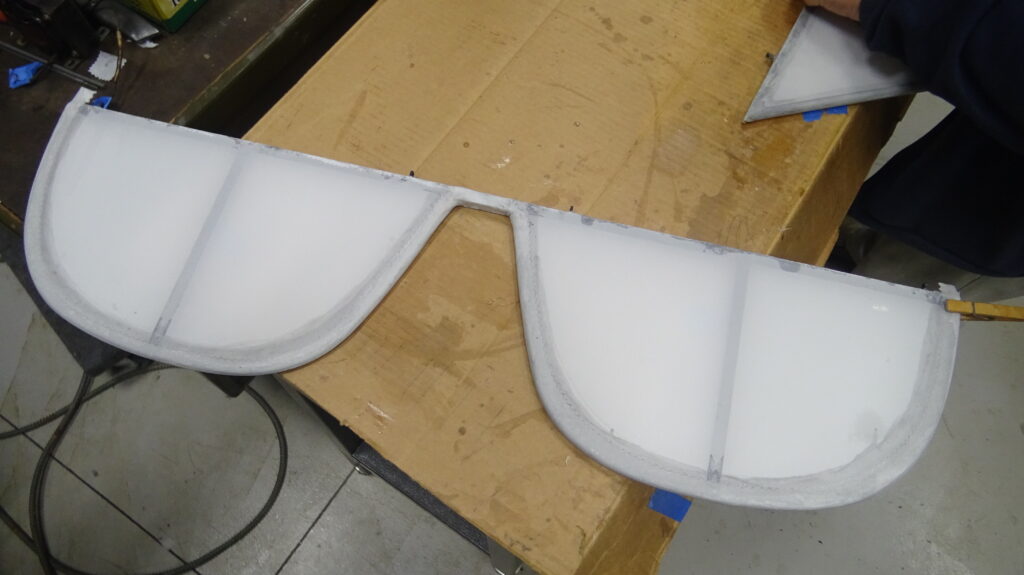
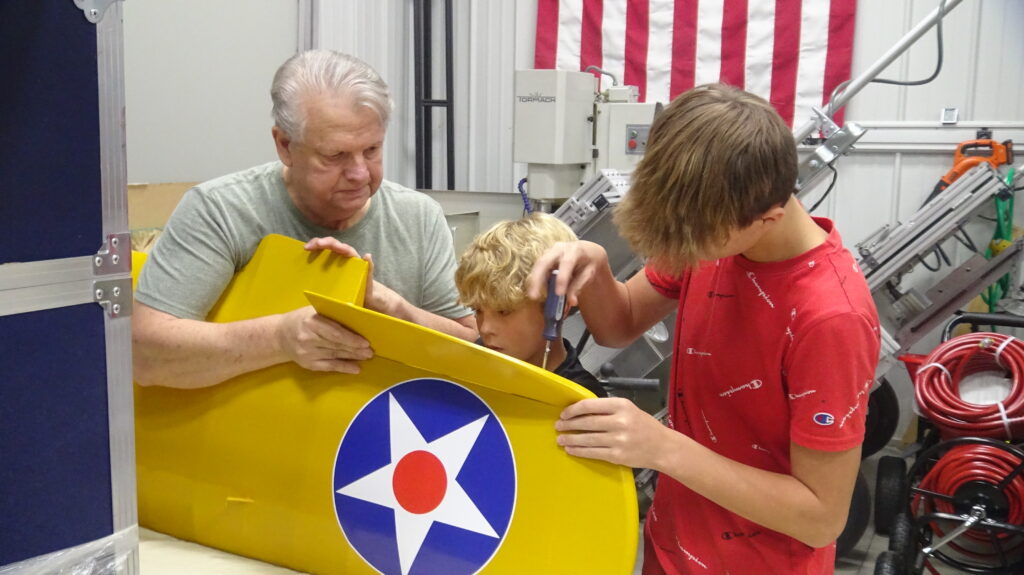
A different technique is used for the thin control surfaces such as the rudder, horizontal stabilizer, and elevators. The outline of the control surface is traced on two fabric pieces of fabric tacked together with pins. The two pieces are then sewn together about 1/16” outside the tracing. Pinking shears are used to cut out the fabric about ½” past the sewn seam. The top and bottom ½” edges are separated, folded flat against and cold seamed such that they form reinforcement to the seam. Next the fabric is turned inside out to form a “pillowcase”. The control surface frame is then inserted into fabric such that the separated seam rests flat against the frame. Once positioned, the lower fabric on the flat side of the control seam is folded and glued onto the frame. Finally, the top piece of fabric is folded over the flat edge, and pinked such that it does not extend beyond the bottom edge. Glue is applied at the open end to encase the control surface. Finally heat of an iron finishes the job.
Once the fuselage and control surfaces have been covered with fabric, it is time to add reinforcing tape. Tape is applied wherever the fabric transitions from wood or metal to a stretched fabric area. For example, tape is applied over spars and ribs on the wing, and over each rib on the canopy.
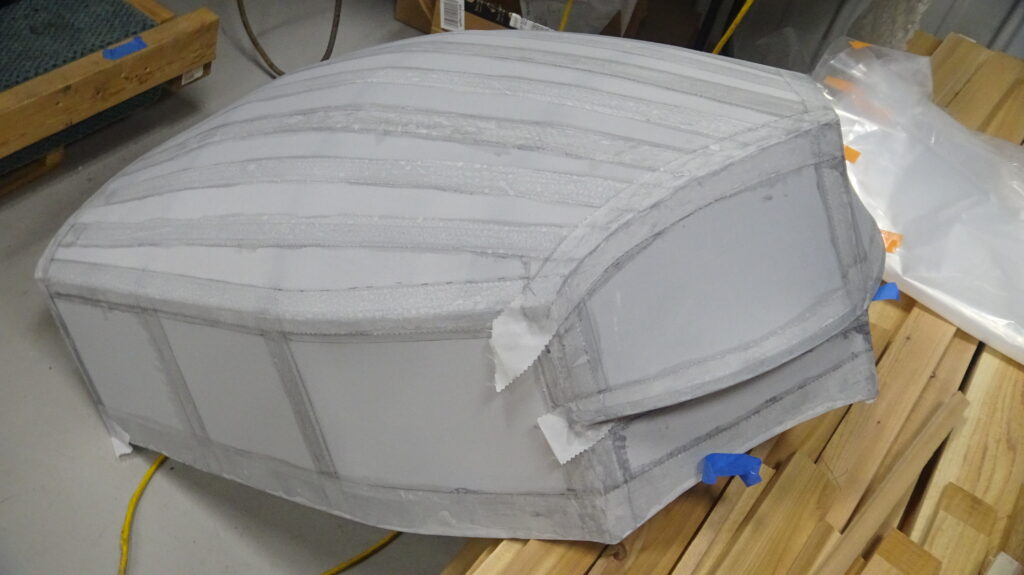
Tape comes in various widths; we used 3”, 2” and 1” wide tape on the blue box. The tape is pinked to blend into the surrounding fabric. There are two types of tape, standard and bias tape. Standard tape is cut parallel to the weave of the fabric. Bias tape is cut at 45 degrees with respect to the fabric weave. Standard tape is used in most places where surfaces are flat or curve in the same direction as the tape roll. Bias tape has an almost magical way of conforming to compound curves such as wing edges. As the tape is pulled tightly around the edges of the wing, it will conform around the top and bottom surfaces. For extreme curves, the bias tape may not conform completely; in these cases, it may be necessary to add small tabs around the curve.
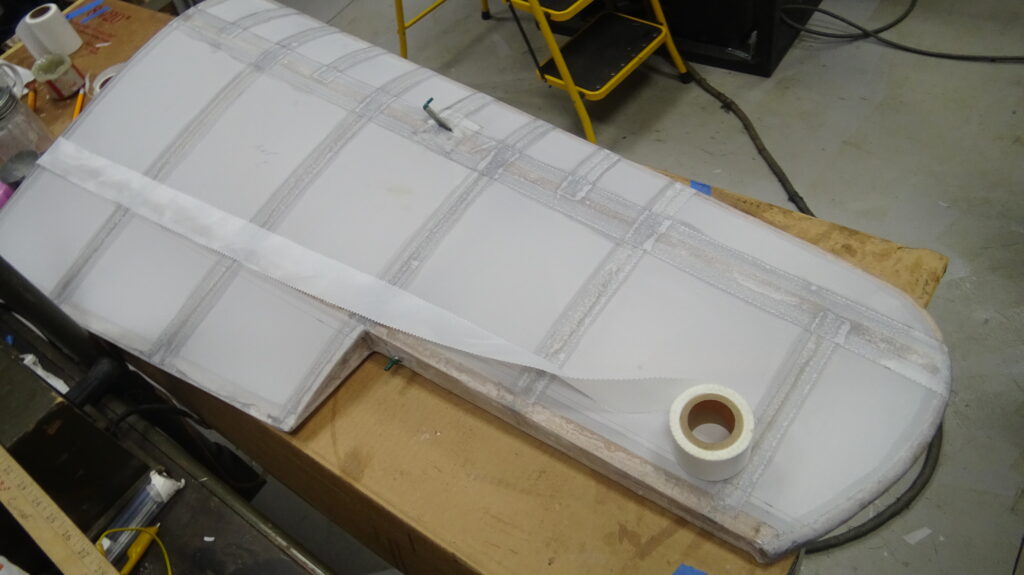
Tape is applied with a combination of sealer which is thinned 3:1 and glue. Sealer is used in most cases where the tape is covering flat or gently curved surfaces. Glue, or thinned glue is used to hold sharply bending areas or to secure tape ends at the beginning or end of a run. Before applying tape, pencil marks are used to outline the desired taping area. Then a priming coat of sealer is added in those areas. A second coat of sealer is applied to adhere the tape to the fabric, and a topcoat of sealer is added to soak into the tape while the tape is still wet. In general, the narrower tape is applied first, and wider and edge taping is added last to cover existing seams. Tape is overlapped from front of the aircraft to the back. Each situation is different and frequently it is a judgement call as to what looks best.
After the aircraft is covered in fabric and taped; sealer is brushed over the entire surface. After drying, a light sanding with 320-grit sandpaper removes the rough tape edges and glue blobs. Pinked tape edges often need a bit of ironing to make them adhere tightly to the underlying fabric. Then one more coat of sealer is sprayed on.
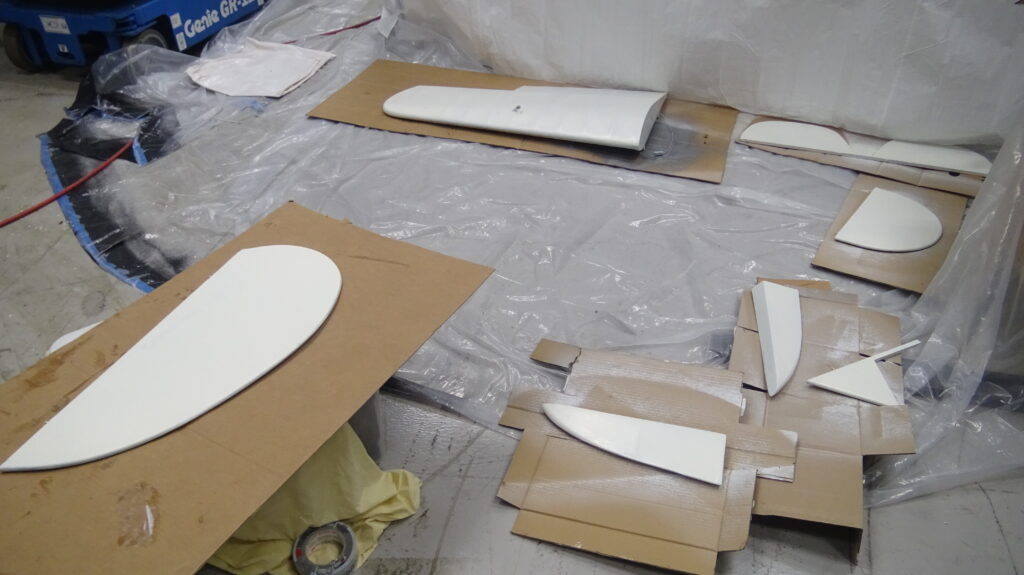
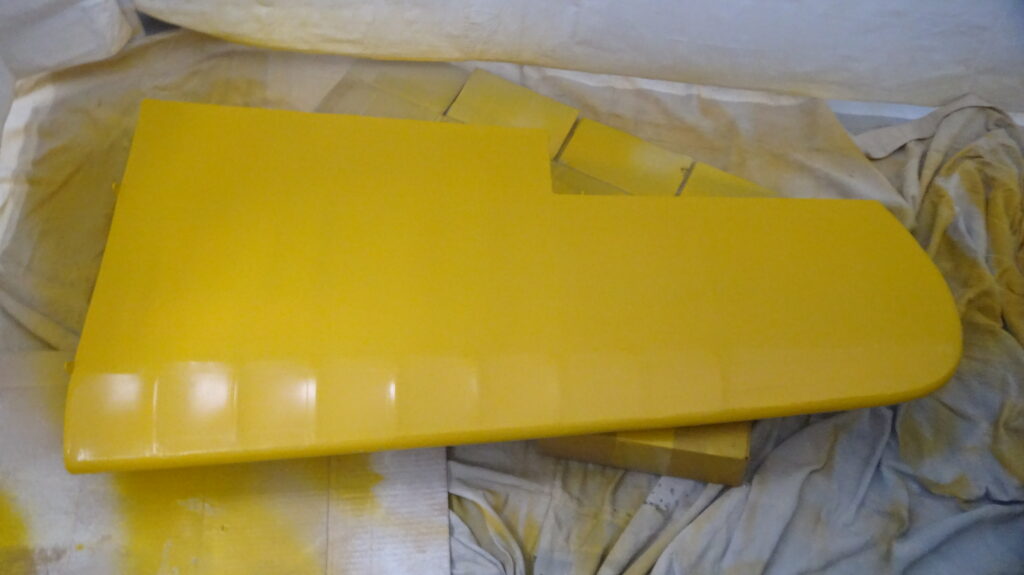
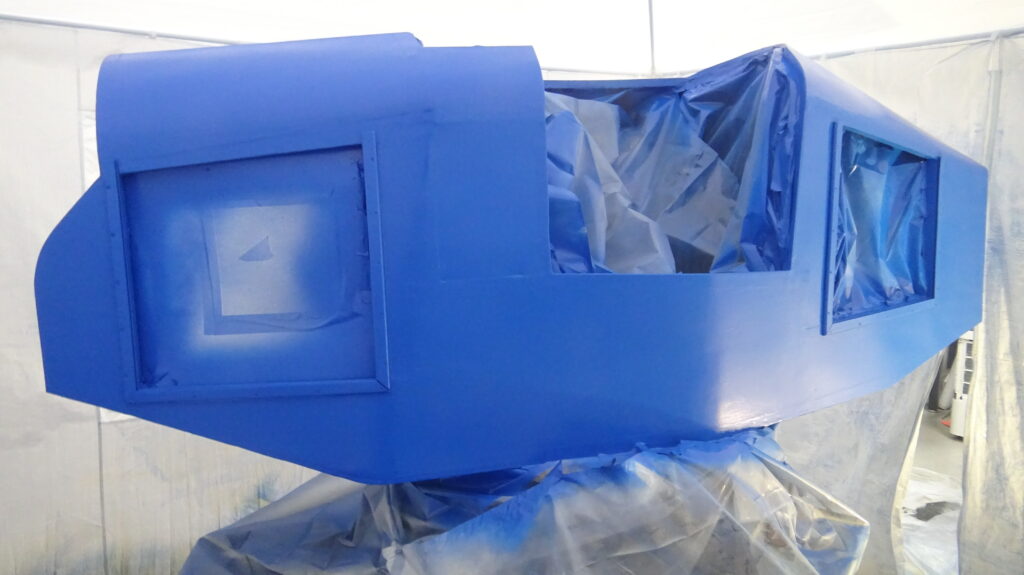
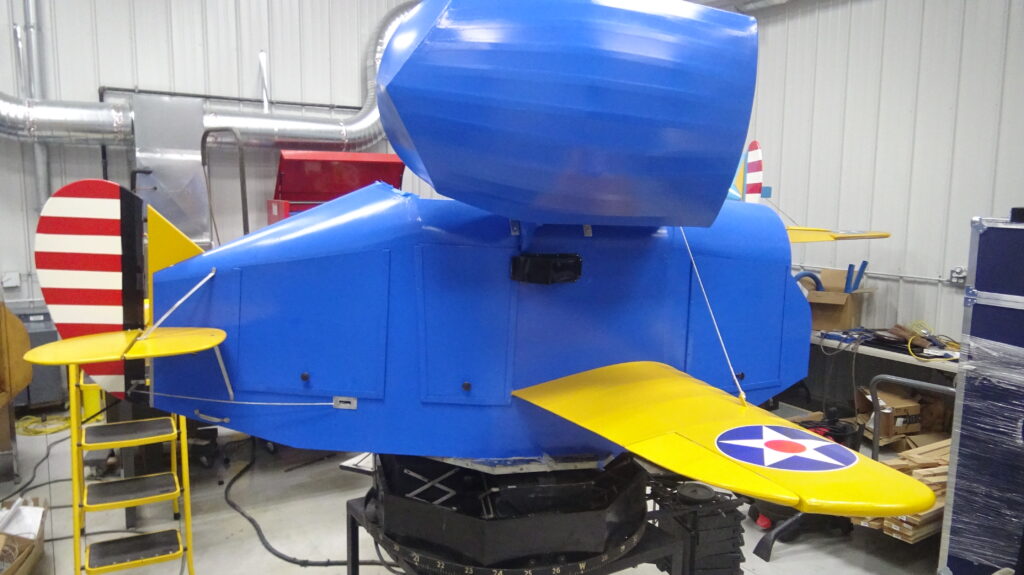
Aircraft use a metalized spray over this to protect the fabric from UV sun rays. We decided to only apply one coat of UV protection since our trainer is housed in a building. Next two coats of white butyrate dope is sprayed on. This is done to make the colors brighter when they are applied. Next two or three finish coats of butyrate dope is applied. The wings and control surfaces are reinstalled to finish the job.
I think that it is sort of the same way that I would have done it!
A tip of the hat to Leroy, our friend and fabric expert, who led us through the process. Check out his credits in the discussion above and in the fabric recovering video.