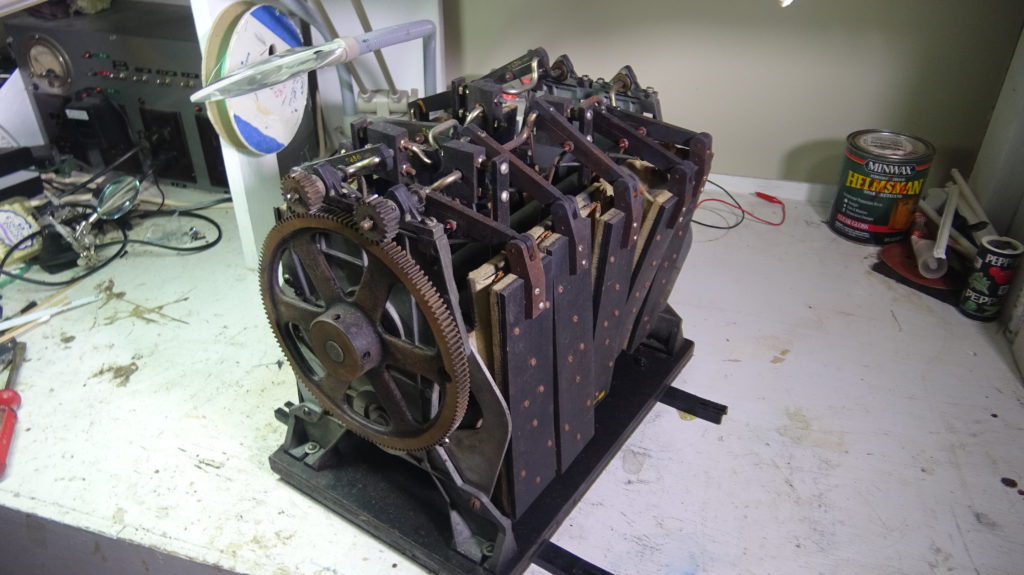
The yaw turning motor is very interesting. Twenty small bellows are used. Ten arranged two-each on 5 rocking panels drive the motor clockwise; the other ten drive counterclockwise. Each set of two bellows on a rocking panel is connected to a small timing crankshaft which is connected to reduction gears, then to a pulley which turns the trainer via a leather belt. The timing crankshaft also sequences sliding valves which direct vacuum into one or the other bellows in each set. It is a clever but understandable mechanism.
All of our bellows had rubber patches, many of which had decayed into holes. Our pneumatic cloth was stiff. We decided to refurbish it.
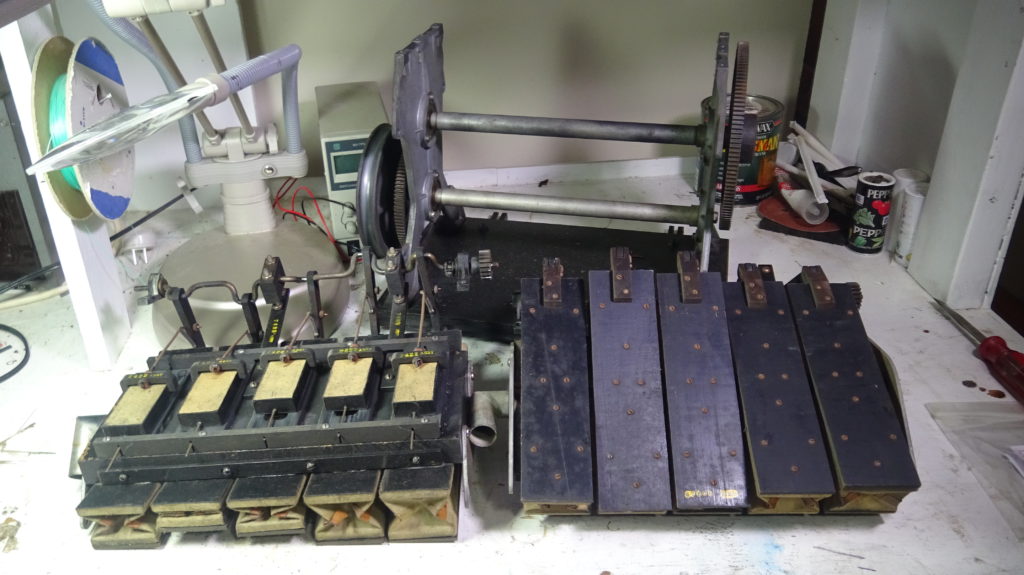
The turning motor can be separated into three primary subassemblies; the left and right bellows, and the pulley / gear frame.
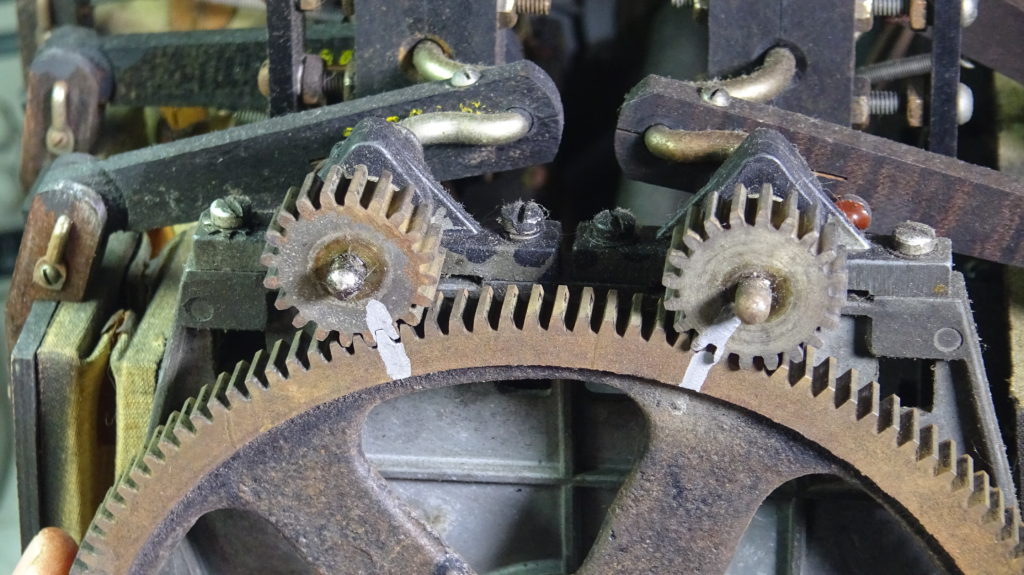
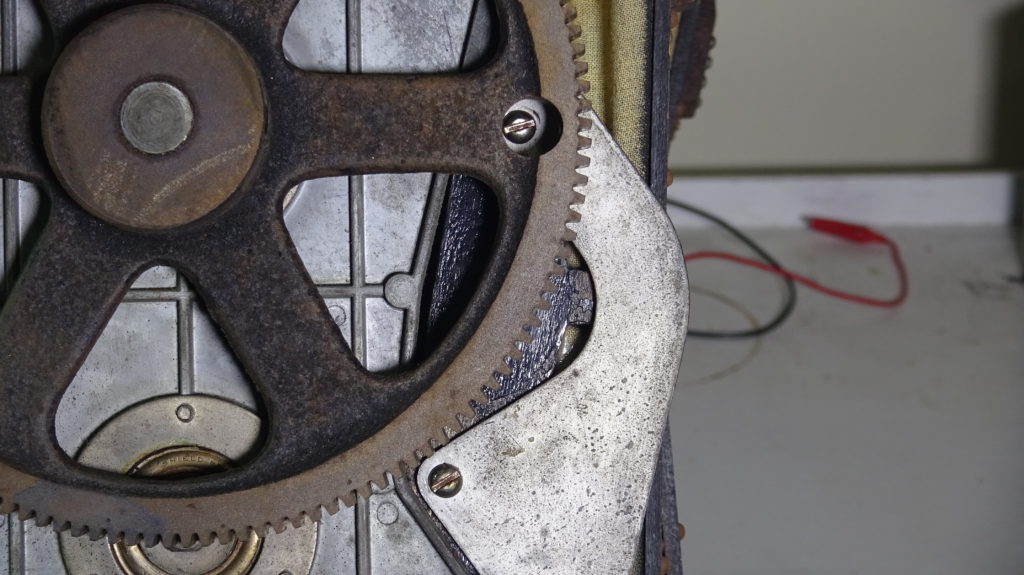
Before separating the subassemblies, it is helpful to mark the mesh points between the main gear and the two drive gears. Each bellows assembly can be removed with just a few screws. Two screws on the top, two on the bottom, and 4 screws with lock washers holding the bearings on the top and bottom. One of the screws is hidden behind the large yaw gear; Link already thought of that and provided a handy access hole in the gear.
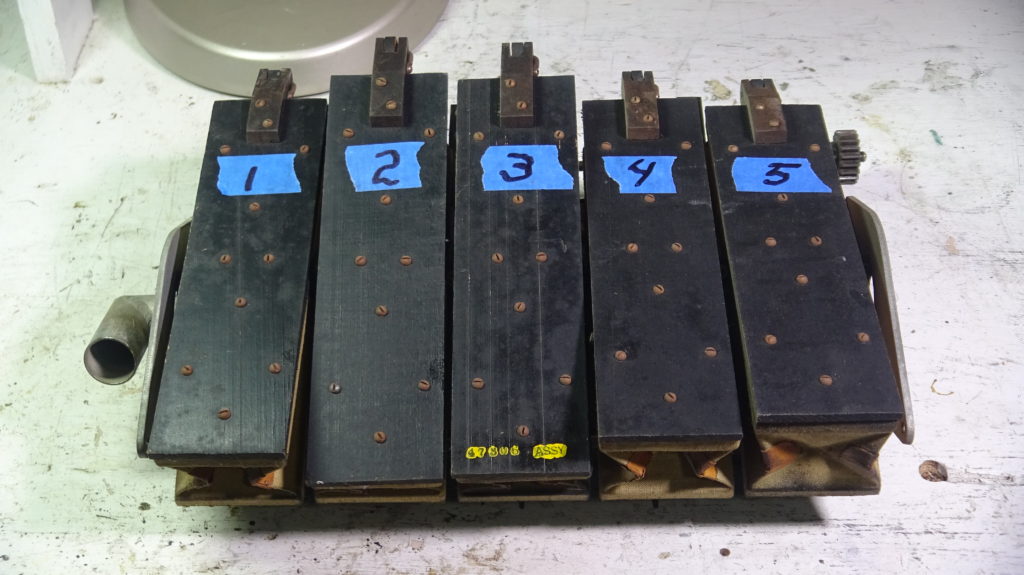
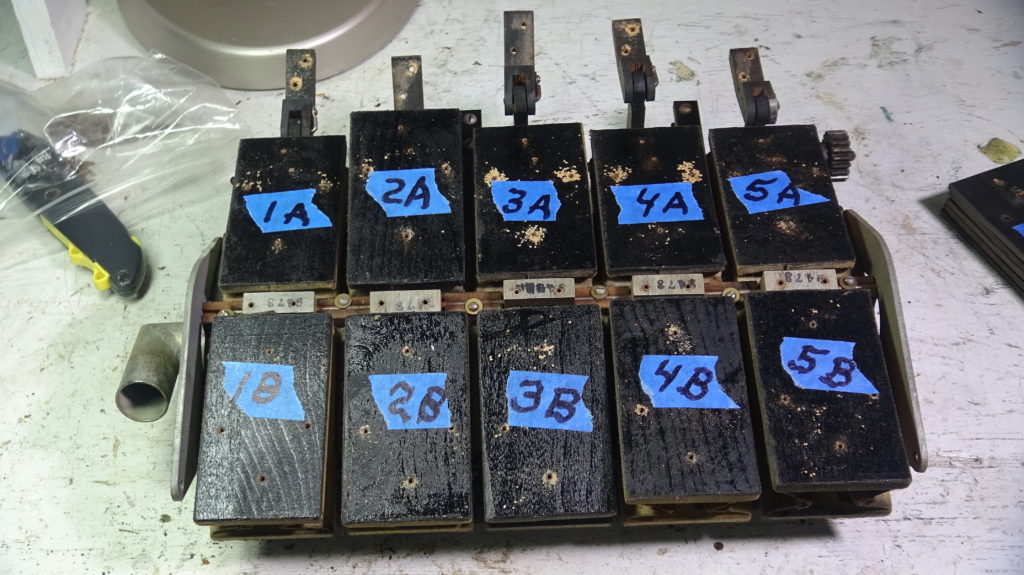
The bellows can be accessed by removing the screws from the rocker plates. It is helpful to temporarily mark the plates so that they can be replaced in the same positions. Sometimes the holes and even the size of the plates are not identical from bellows to bellows; especially on the older models. Once the plates are removed, the top of each bellows is exposed. Here again it is helpful to temporarily number each bellows.
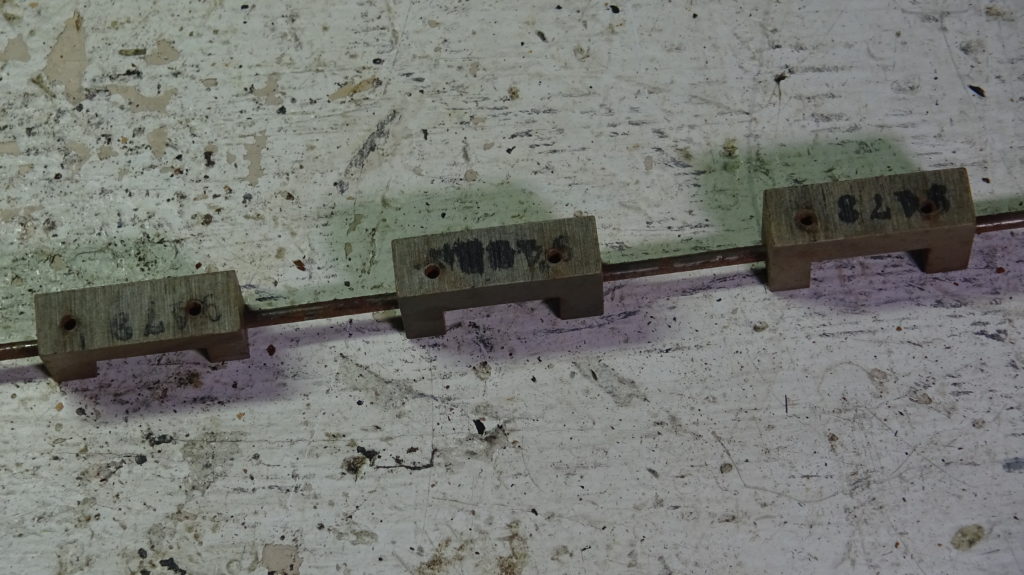
There is a thin steel rod holding the rocker pivots. These pivots are wood on older Link Trainers and phenolic on newer models. Before removing the pivots, number them as the hole position on the pivots often varies. The pivots can be removed to clean, polish, and lightly tallow the steel rod; it typically has rusted. When reinstalling the pivots, it is helpful to press the steel rod into the supporting wood slot before trying to tighten the retaining screws. This prevents the screws from stripping out of the wood.
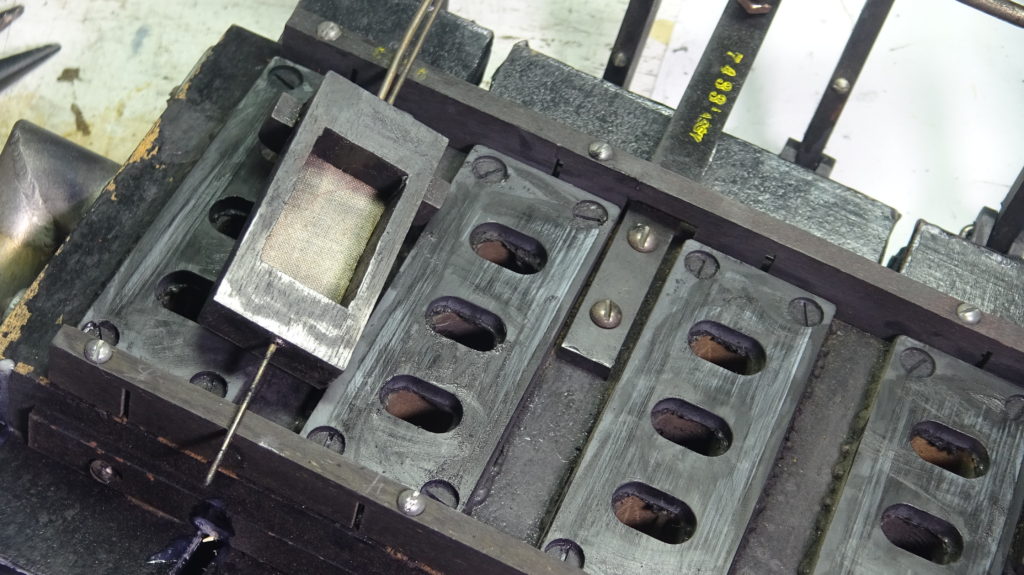
The old bellows cloth can be removed and each of the bellows top and bottom plates cleaned and glue removed. Watch for insect nests, and dirty or clogged ports.
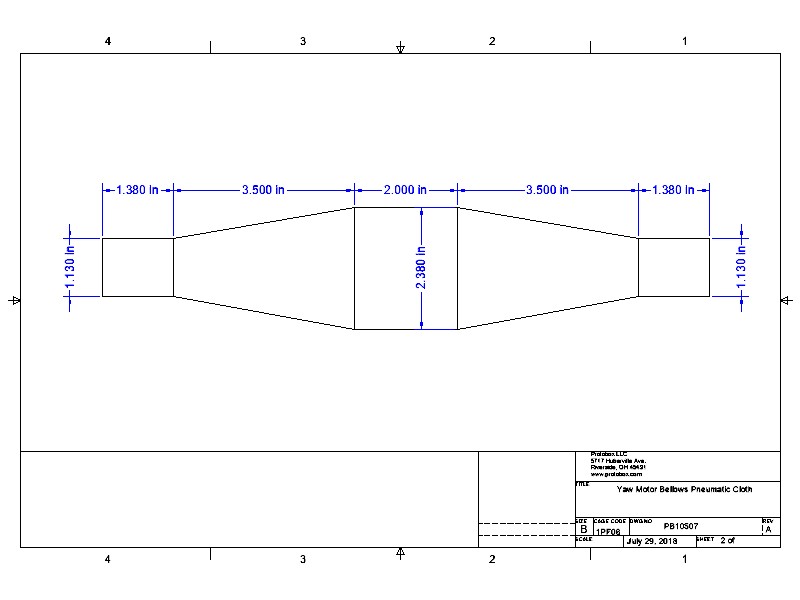
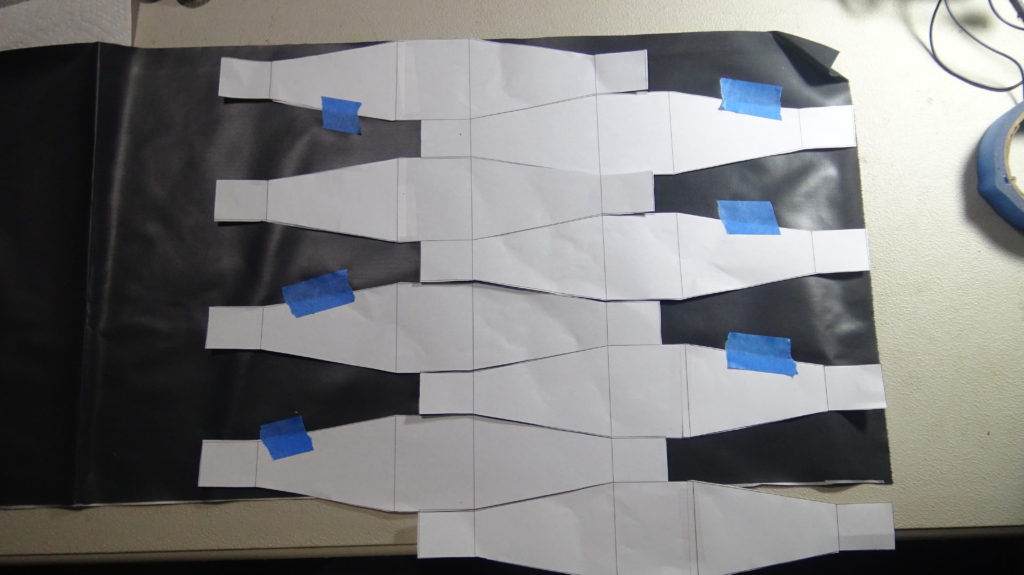
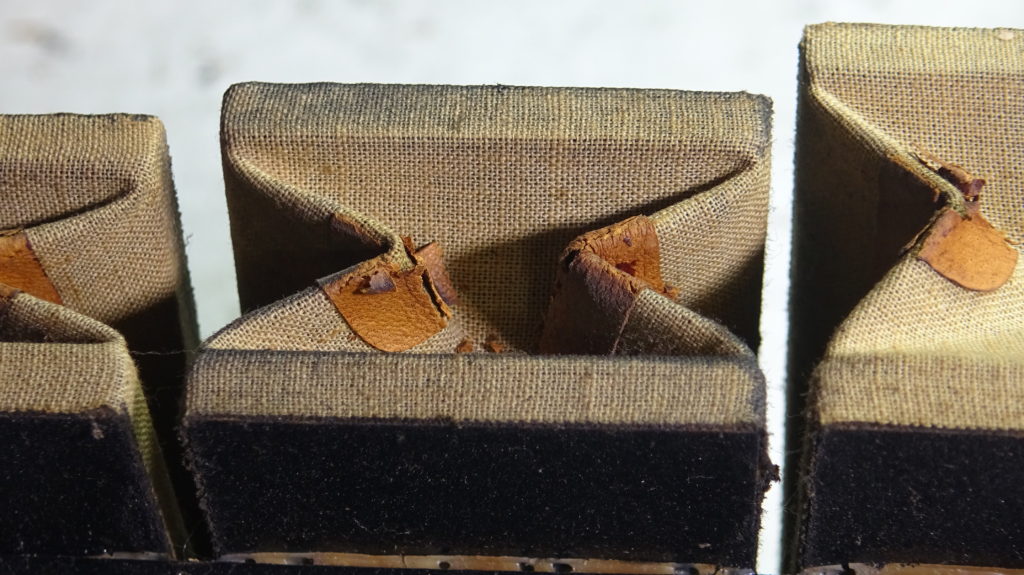
Cutting out pneumatic material.These bellows have a cloth pivot at the hinge area. Pillow ticking can be used to replace the hinge; it can be glued on with hide glue. The rocker plates can be reinstalled after the glue has set. It is best to start with the two pivot screws when reinstalling each rocker plate; this ensures that the pivots haven’t turned sideways.
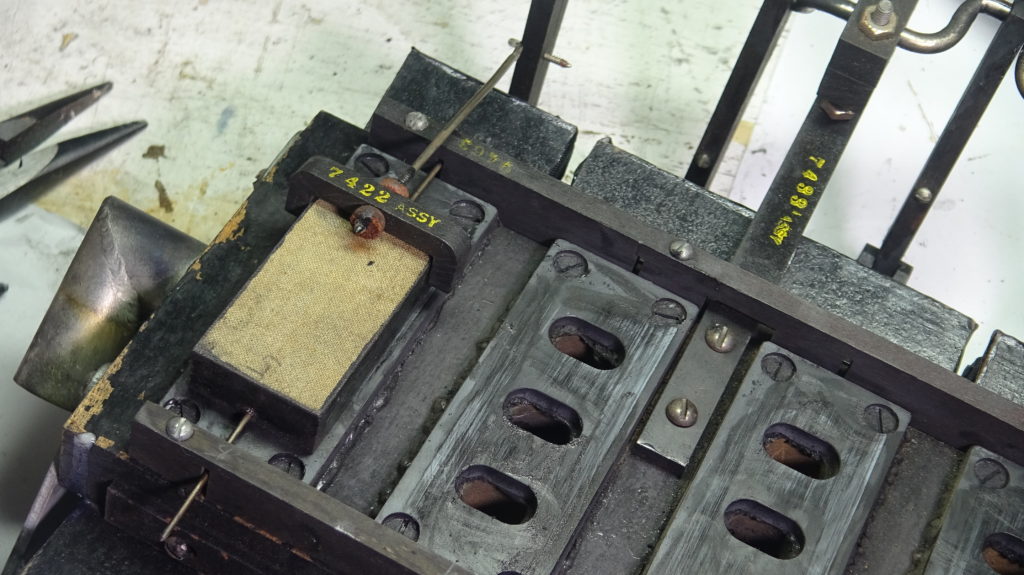
The wooden or phenolic valves sliding on the flat metal plate can be removed, cleaned, then lubricated with graphite , and the wood-to-metal pivot points lubricated with tallow. We put leather preservative on the leather nuts, and oil on the tiny valve springs.
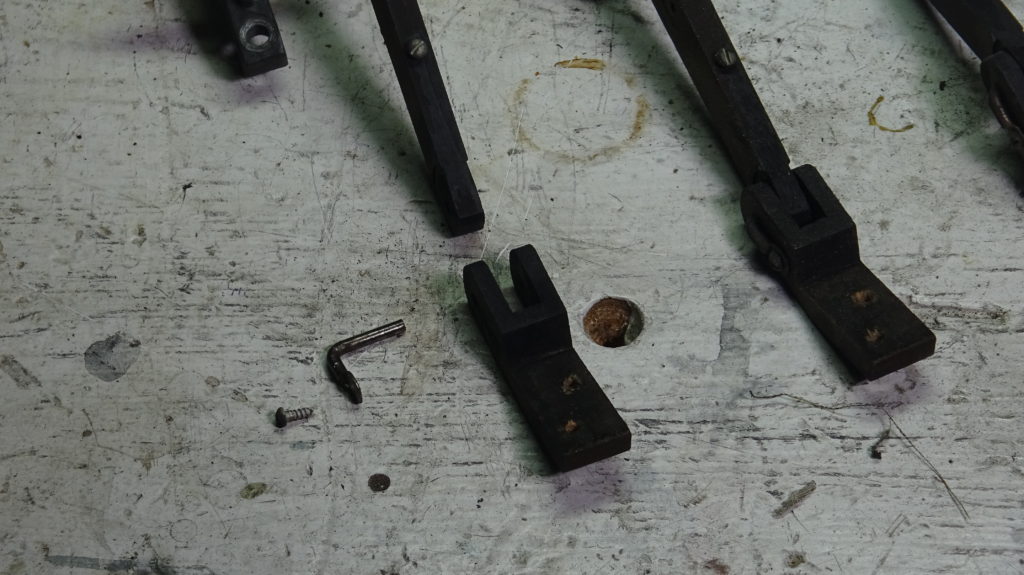
The valve connector has a pivot pin which is typically rusted. It can be removed, cleaned, and lubricated with tallow. The connector’s mating surfaces should also be lubricated.
The sealed bearings were very stiff — got them turning again with 3-in-1 oil. Finished up with grease on the metal meshing gears.
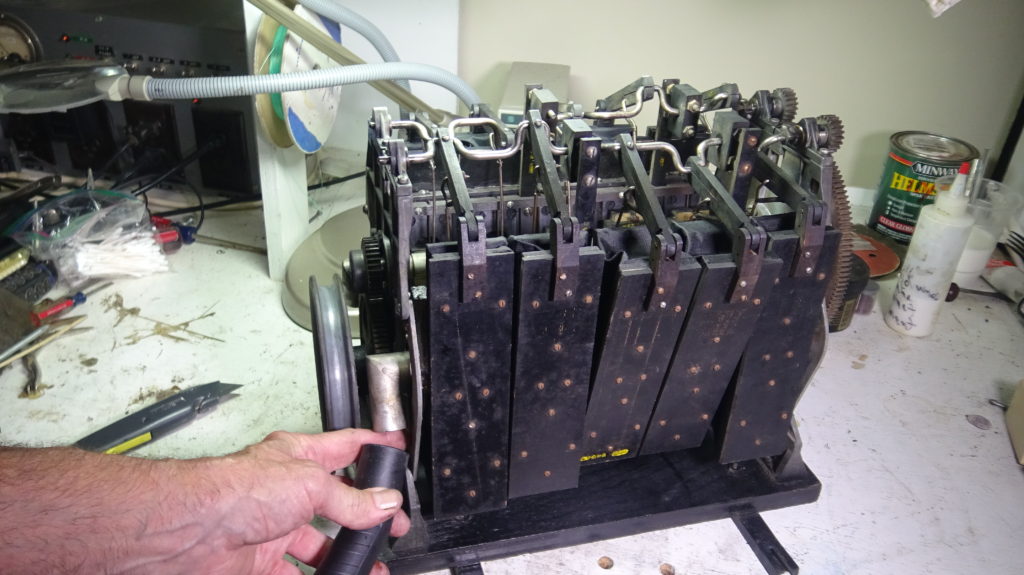
Testing is the most fun. With a small hand-held shop vac’s hose held an inch away, the motor jumps into action; clockwise from one port, counterclockwise from the other. It is amazing how strong it is; try to stop the main drive pulley.