January 5, 2025
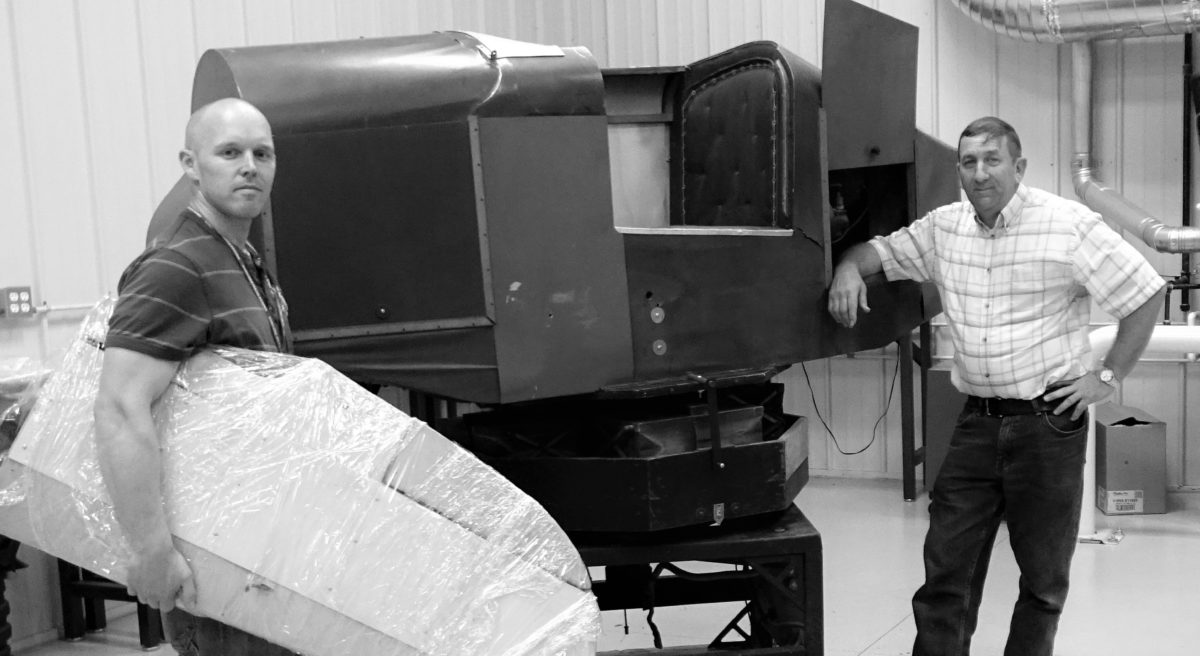
If you just acquired your “new” blue box, the task of refurbishment may be daunting. It helps to break down the tasks to make it easier to bring the trainer back to life. The following is just a suggested order of battle and is likely to change based on the condition of the various systems in your trainer.
1. Give the entire trainer a good cleaning. Remove the seat and vacuum out everything you can get to. This also helps familiarize you with the subsystems in the trainer. Identify any missing or obviously damaged components.
2. Connect up all the electrical plugs and connectors.
3. Before initial power-up.
—–a. Check the AC plug, if it is only a two-prong, replace it with a 3-prong grounded plug to the frame.
———-i. Note that if using a 3-prong plug, you cannot use a GFI power circuit. There is too much leakage current in the system.
—–b. Turn off all switches on the control panel, in the fuselage, the radio, and on the instructor’s console.
—–c. Open up the control box located in the base. Usually, the capacitors and selenium rectifier will need to be replaced. Silicon diodes or bridge work well as selenium replacement.
—–d. Check the AC fuses; 3 amp.
4. Turbine
—–a. Replace the dual wax capacitor located in the turbine’s electrical box.
—–b. Clean the commutator with alcohol.
—–c. Very lightly grease; over greasing can damage turbine.
5. Initial power-up.
—–a. Plug the unit in.
—–b. Turn just the “Line” switch on the control box ON; light on control box verifies power.
———-i. Leave “oscillator” OFF.
—–c. Turn the ignition switch on the fuselage’s front panel ON. The vacuum turbine should power up. Yes, it is loud.
—–d. If the fuselage starts spinning, check that the spin-trip mechanism is centered and its pin is engaged.
—–e. This is a good time to check for obvious vacuum leaks.
———-i. Cracked hoses need to be replaced.
———- ii. Add hose clamps where missing.
———-iii. Check all bellows for leakage; replace pneumatic material where necessary.
———- iv. Check plenum for 4 in-hg vacuum pressure. It needs to be 3.8 in-hg or better.
6. Control column
—–a. Move the control column or stick. The dampers are very likely frozen or stiff.
—–b. Rebuild the dampers, a.k.a. “slip stream simulators” if needed.
7. Pitch, roll, yaw.
—–a. Clean and lubricate fuselage linkages and three primary valves.
———-i. Gun oil works well for valves.
—–b. Grease the pitch and roll grease fittings located on the central vacuum column.
—–c. Check the pitch, roll, and yaw bellows for leaks, and the pneumatic material for stiffness or cracks. The pneumatic material and exhausters usually need replacement.
—–d. A good order of checkout is pitch, then roll, then yaw.
———- i. Center the rudders and control column.
———-ii. For each axis, unlock the axis by removing the octagon strap, and move the column or rudders and check for appropriate response.
—–e. At this point, the trainer is moving in all three axes.
8. Identify problem areas
—–a. Getting the initial roll, pitch, and yaw working is a big step. In the process, it is likely that other problems throughout trainer can be identified and fixed.
9. Three primary instruments; air speed, vertical speed, and altitude.
—–a. Refurbish the telegon oscillator located in the base of the unit. All three primary instruments need the oscillator to work.
—–b. Turn on the telegon oscillator on the control panel. Verify operation of each primary instrument and its corresponding repeater instrument on the instructor’s desk.
—–c. Each primary instrument has a corresponding transmitter located behind the pilot’s seat.
————i. If none of the primary instruments work, check the telegon oscillator.
———–ii. If both fuselage instrument and repeater instruments are non-functional, check the corresponding transmitter. If one works, check the failed instrument.
—–d. An oscilloscope simplifies location of primary instrument problems.
———-i. Each primary instrument needs three good signals.
—————1. Telegon oscillator signal.
—————-2. Sine wave of the corresponding transmitter.
—————3. Cosine wave of the corresponding transmitter.
———-ii. As you are flying trainer, you can watch the signals. Both sine and cosine signals should vary with respect to stable oscillator signal (use to trigger scope).
10. Slip ring.
—– a. All fuselage electrical signals go through the slip rings. The slip rings are very reliable. If you are tracing a signal and find that it is not conducted across the slip rings, clean the slip rings with alcohol and verify proper brush contact. Then very lightly tap the top slip ring pin of the missing signal down into its corresponding disk. Caution: tap lightly; these pins are easily damaged.
11. At this point, the trainer should be flying and with all three primary instruments working in the fuselage and on the instructor’s repeater instruments.
12. The next instrument to check is the radio compass.
—–a. If the radio compass is not working, check out the pickoff gear located on the bottom of the slip ring unit. Clicking noise from this unit indicates that the gears are not turning properly on the pick-off, or the wind drift calculator is at the end of one of its three axes and needs to be recentered.
13. Fuselage instruments
—–a. One by one check out and repair the remaining fuselage instruments.
14. Crab
—–a. Once the radio compass is working, it is good to check out and repair the crab. Both units use the same quadrature driving signals.
15. At this point the blue box is flying, and plotting its course on instructor’s desk.
16. Radio
—–a. Save the radio and communication restoration for last.
—– b. The radio will need to have its capacitor’s replaced and tubes checked before powering it up.
—–c. Finding working carbon microphones for the radio and cockpit communication is difficult. The headphones often work, but carbon microphones are problematic.
17. At this point, you will be familiar with the problem areas of your trainer and will need to tackle them one at a time. Good luck: it’s an adventure.
Skip to content
Bob & Ron's vintage Link Trainer (aka Blue Box) restoration adventures